Originally found on Digitalfire.com, this base recipe for a cone 6 clear glaze has taken me places. Brush, spray, or dip, all three create different and interesting textures. What I really like about this glaze is the ability to experiment with it. I have added various amounts of mason stain and sand from around the globe. It’s my go-to for good reason.
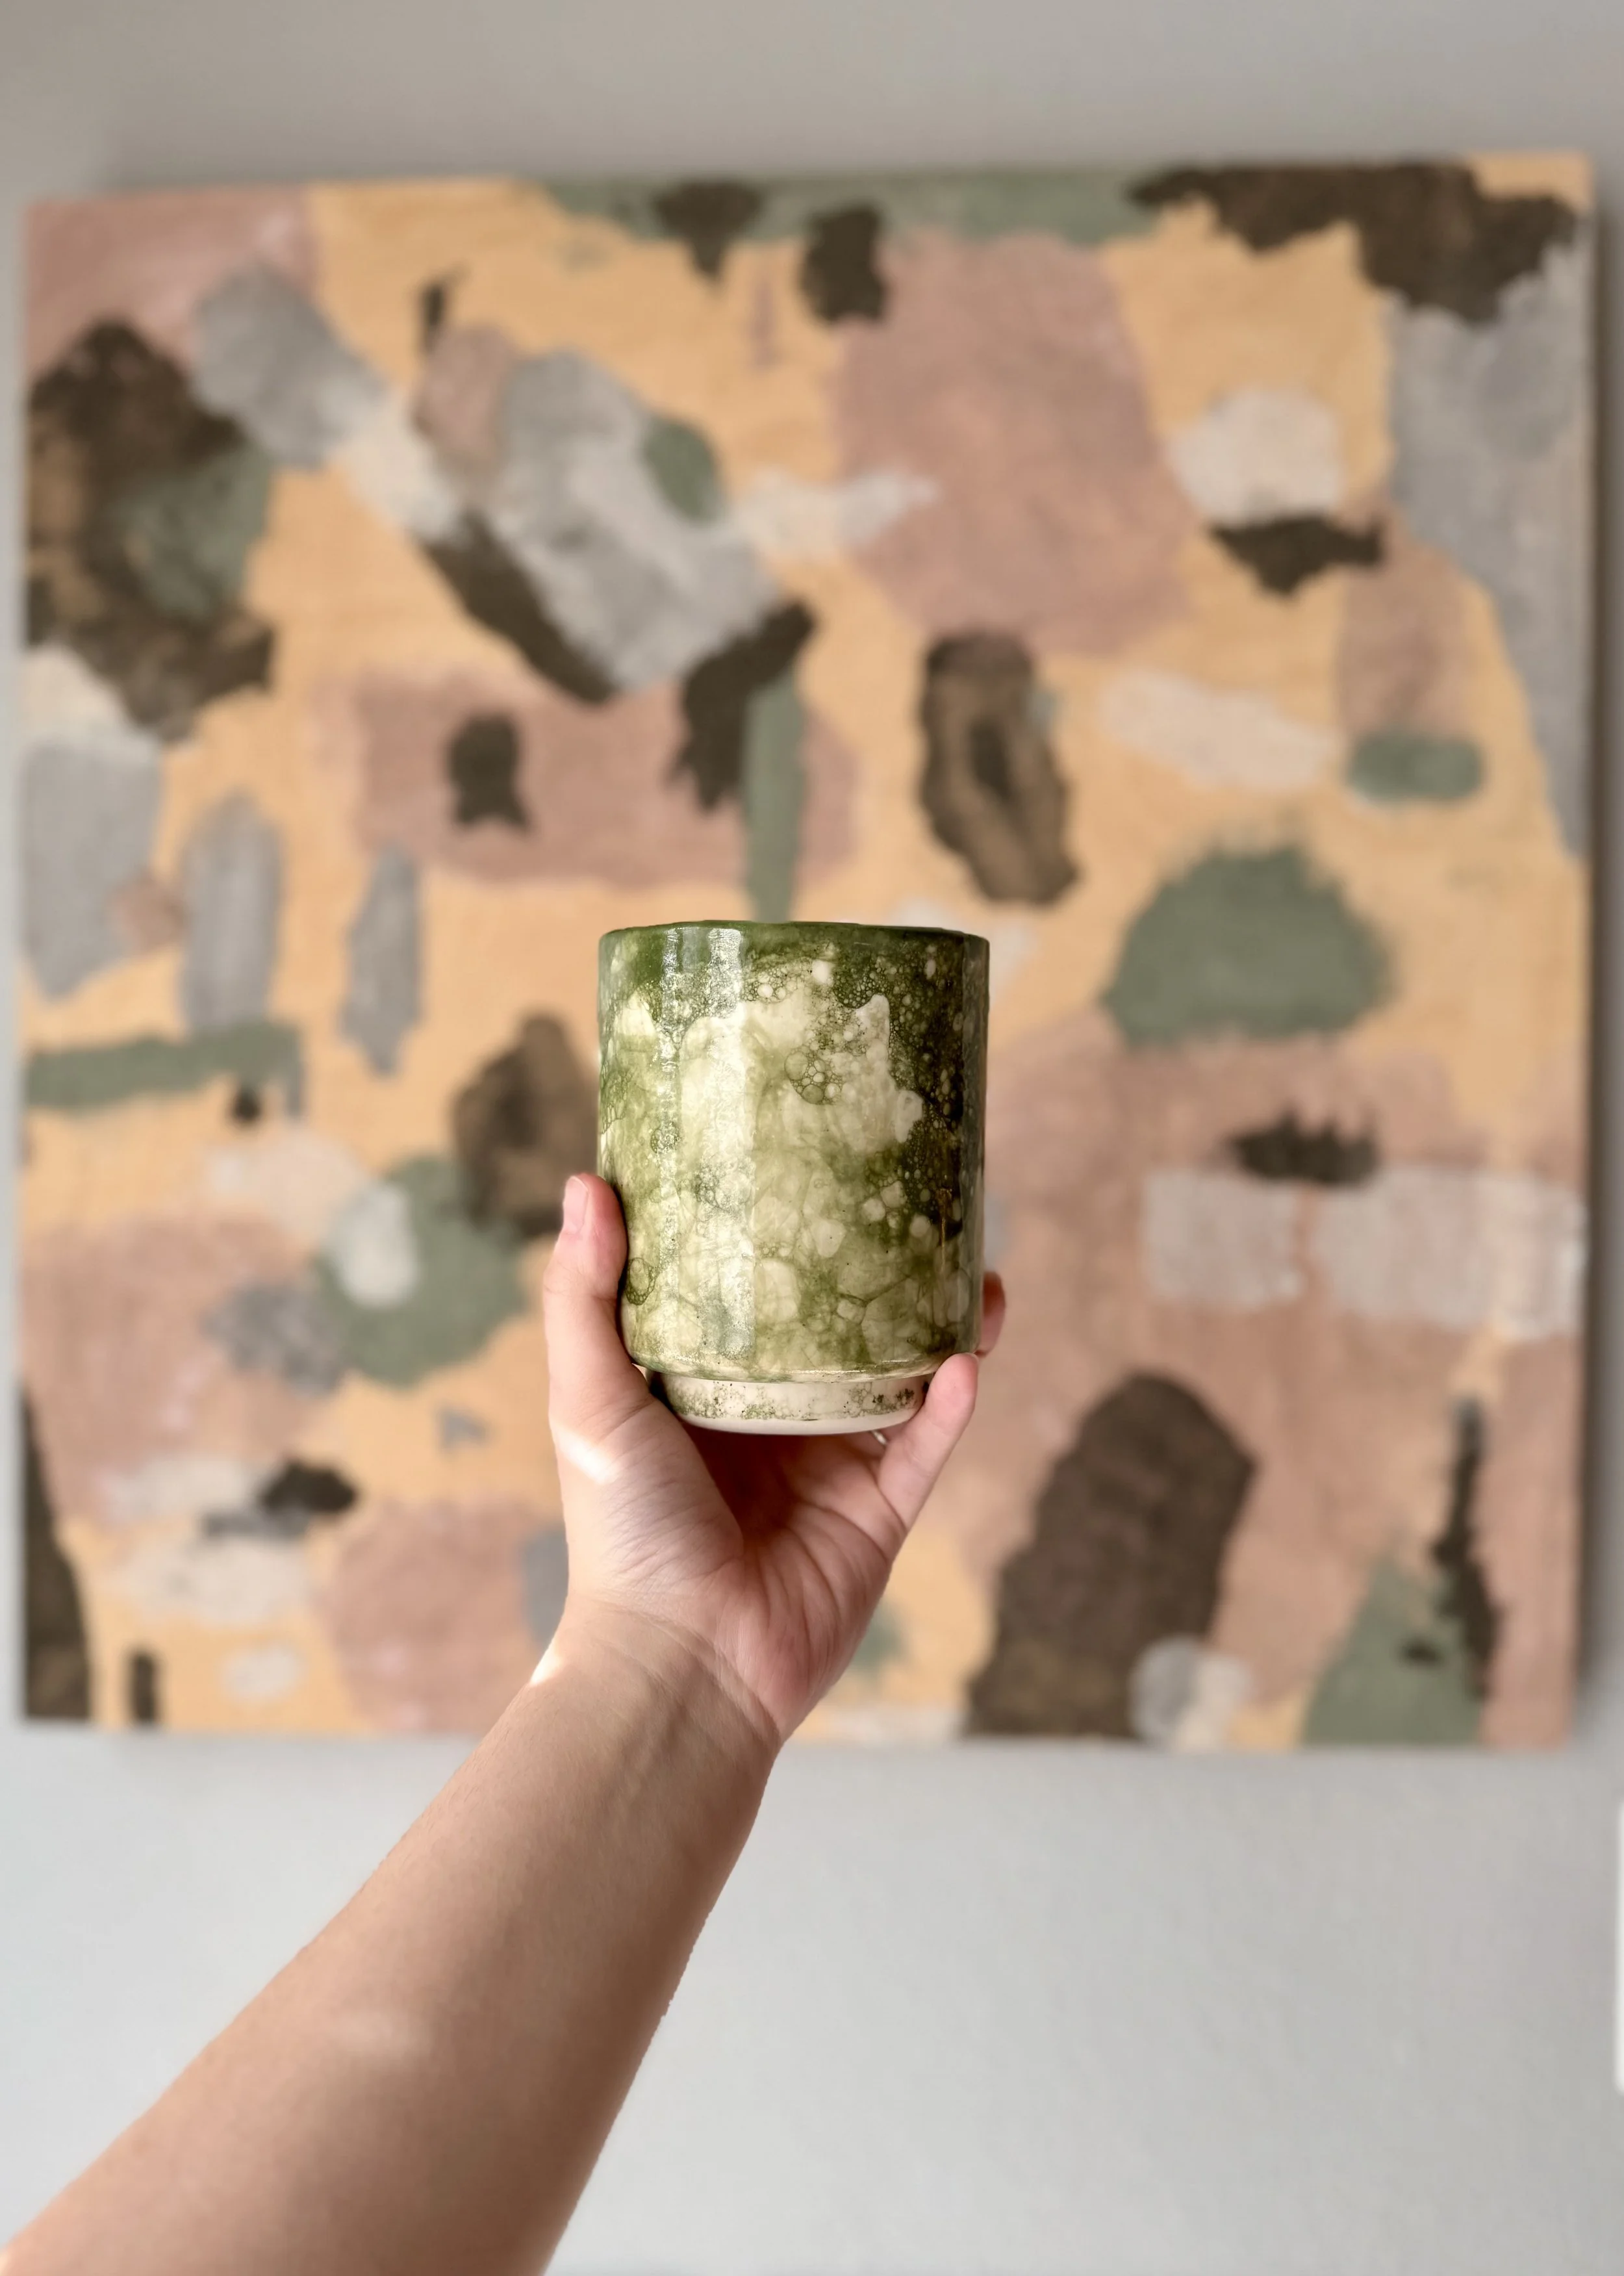
Clear Glaze Recipe
20 EPK
20 Silica
20 Wollastonite
20 Custer Feldspar
20 Frit 3195
Other Materials
Water
Two 5-gallon buckets with lids
Sieve (It’s overkill but I love it)
Good quality toilet brush... yup
Scale (make sure it measures in grams)
Instructions
Prepare
Get your dry materials out, know what each bag/container is. Make sure your scale has batteries, if needed. Buckets, lids, containers, sieve, toilet brush are all clean and dry?
And lastly put on your damn mask. I hate it, everyone does. But you know what the people who love you hate more? You dying at an early age from silicosis, RIP!
Measure Dry Ingredients
The good thing about this recipe is that it’s EASY. Take a to-go container and pop one on the scale. Tare that baby back to 0.
To save on dishes and because all of the dry ingredients should be white or off-white you’re going to use one to-go container to measure all of your ingredients. You’re welcome.
Measure 1,134g (or 2.5lbs) of each dry material and dump into a 5-gallon bucket making sure you completely empty the to-go container between measurements/materials. You can use the bucket lid here to lightly cover the top while the dust settles inside. Clean air, clean lungs.
Add Water
Add clean tap water. How much? Some potters are very sciencey about specific gravity. You can do that if you want (try aiming for a SG of 1.3 mL/g) but this is how I do it.
I like to add enough to cover the powdery mound by an inch or two. Pretend you’re making rice or boiling potatoes, just eyeball it. You can fix it later, I promise.
Mix, Sieve, and Wait
Take your toilet bowl brush and mix, mix, mix. Get the edges, corners, and walls. Alternatively, you can use a paint mixer attached to a drill, but I find that hand mixing gets all the clumps. If you want to get really wild and the toilet brush isn’t doing it for you, stick your entire arm in the bucket and break up the clumps with your bare fingers. Be sure to moisturize after all this is over, your cuticles will thank you.
Now take your very handy sieve and place that over your second 5 gallon bucket. In batches, pour your freshly mixed glaze into the sieve. A lot of the water will run right through but any clumps you missed can be brushed around and pushed through with your brush.
Once you’ve sieved your entire bucket, mix again for good measure. Now you’re going to measure the consistency by dipping your finger into the glaze. You want it to coat your finger evenly. You’ll know it’s too thick if you can’t see the wrinkles of your knuckles. It’s too thin if you can see through to your skin tone. Make a note. Too thick or too thin will coincide with too much or too little water that can be adjusted tomorrow!
Pop the lid on your bucket and leave that sucker alone for at least 24 hours. Go live your life outside of ceramics, your glaze is marinating.
Adjust Water, Mix, Sieve
Your glaze should have separated by now via density. The water will stay on top and the denser material will have sunk. This is your opportunity to remove water if your glaze was too thin. Sponge off or use a cup to remove water. You can’t really remove too much because you can always add it back. Be liberal with it.
Mix once more and test the thickness again using the finger method described below. Add water and mix until you get the balance just right.
Now sieve one last time into the other 5-gallon bucket.
Usage
Dipping
Dipping is going to give you the most even application. Dip for a few seconds then after it’s completely dry, smooth out any bumps, holes, cracks, craters with your dry thumb. If necessary, you can also lightly scrape larger bumps/drips off.
Spraying
I’ve experimented spraying this glaze with this tool. It was fun and the texture and layering was similar to how brushing it on acts.
Brush On
Brushing this glaze gives a more dimensional look. You’re going to be able to see each brush stroke and the thickness variations between them all. Kinda fun!
Adding Mason Stains
You can portion out this glaze into a smaller container and add a percentage of mason stain by weight to it. For example, add 1-10% of powdered mason stain by weight to 500g of wet glaze. See my line blend section for more details.
Adding Foreign Material
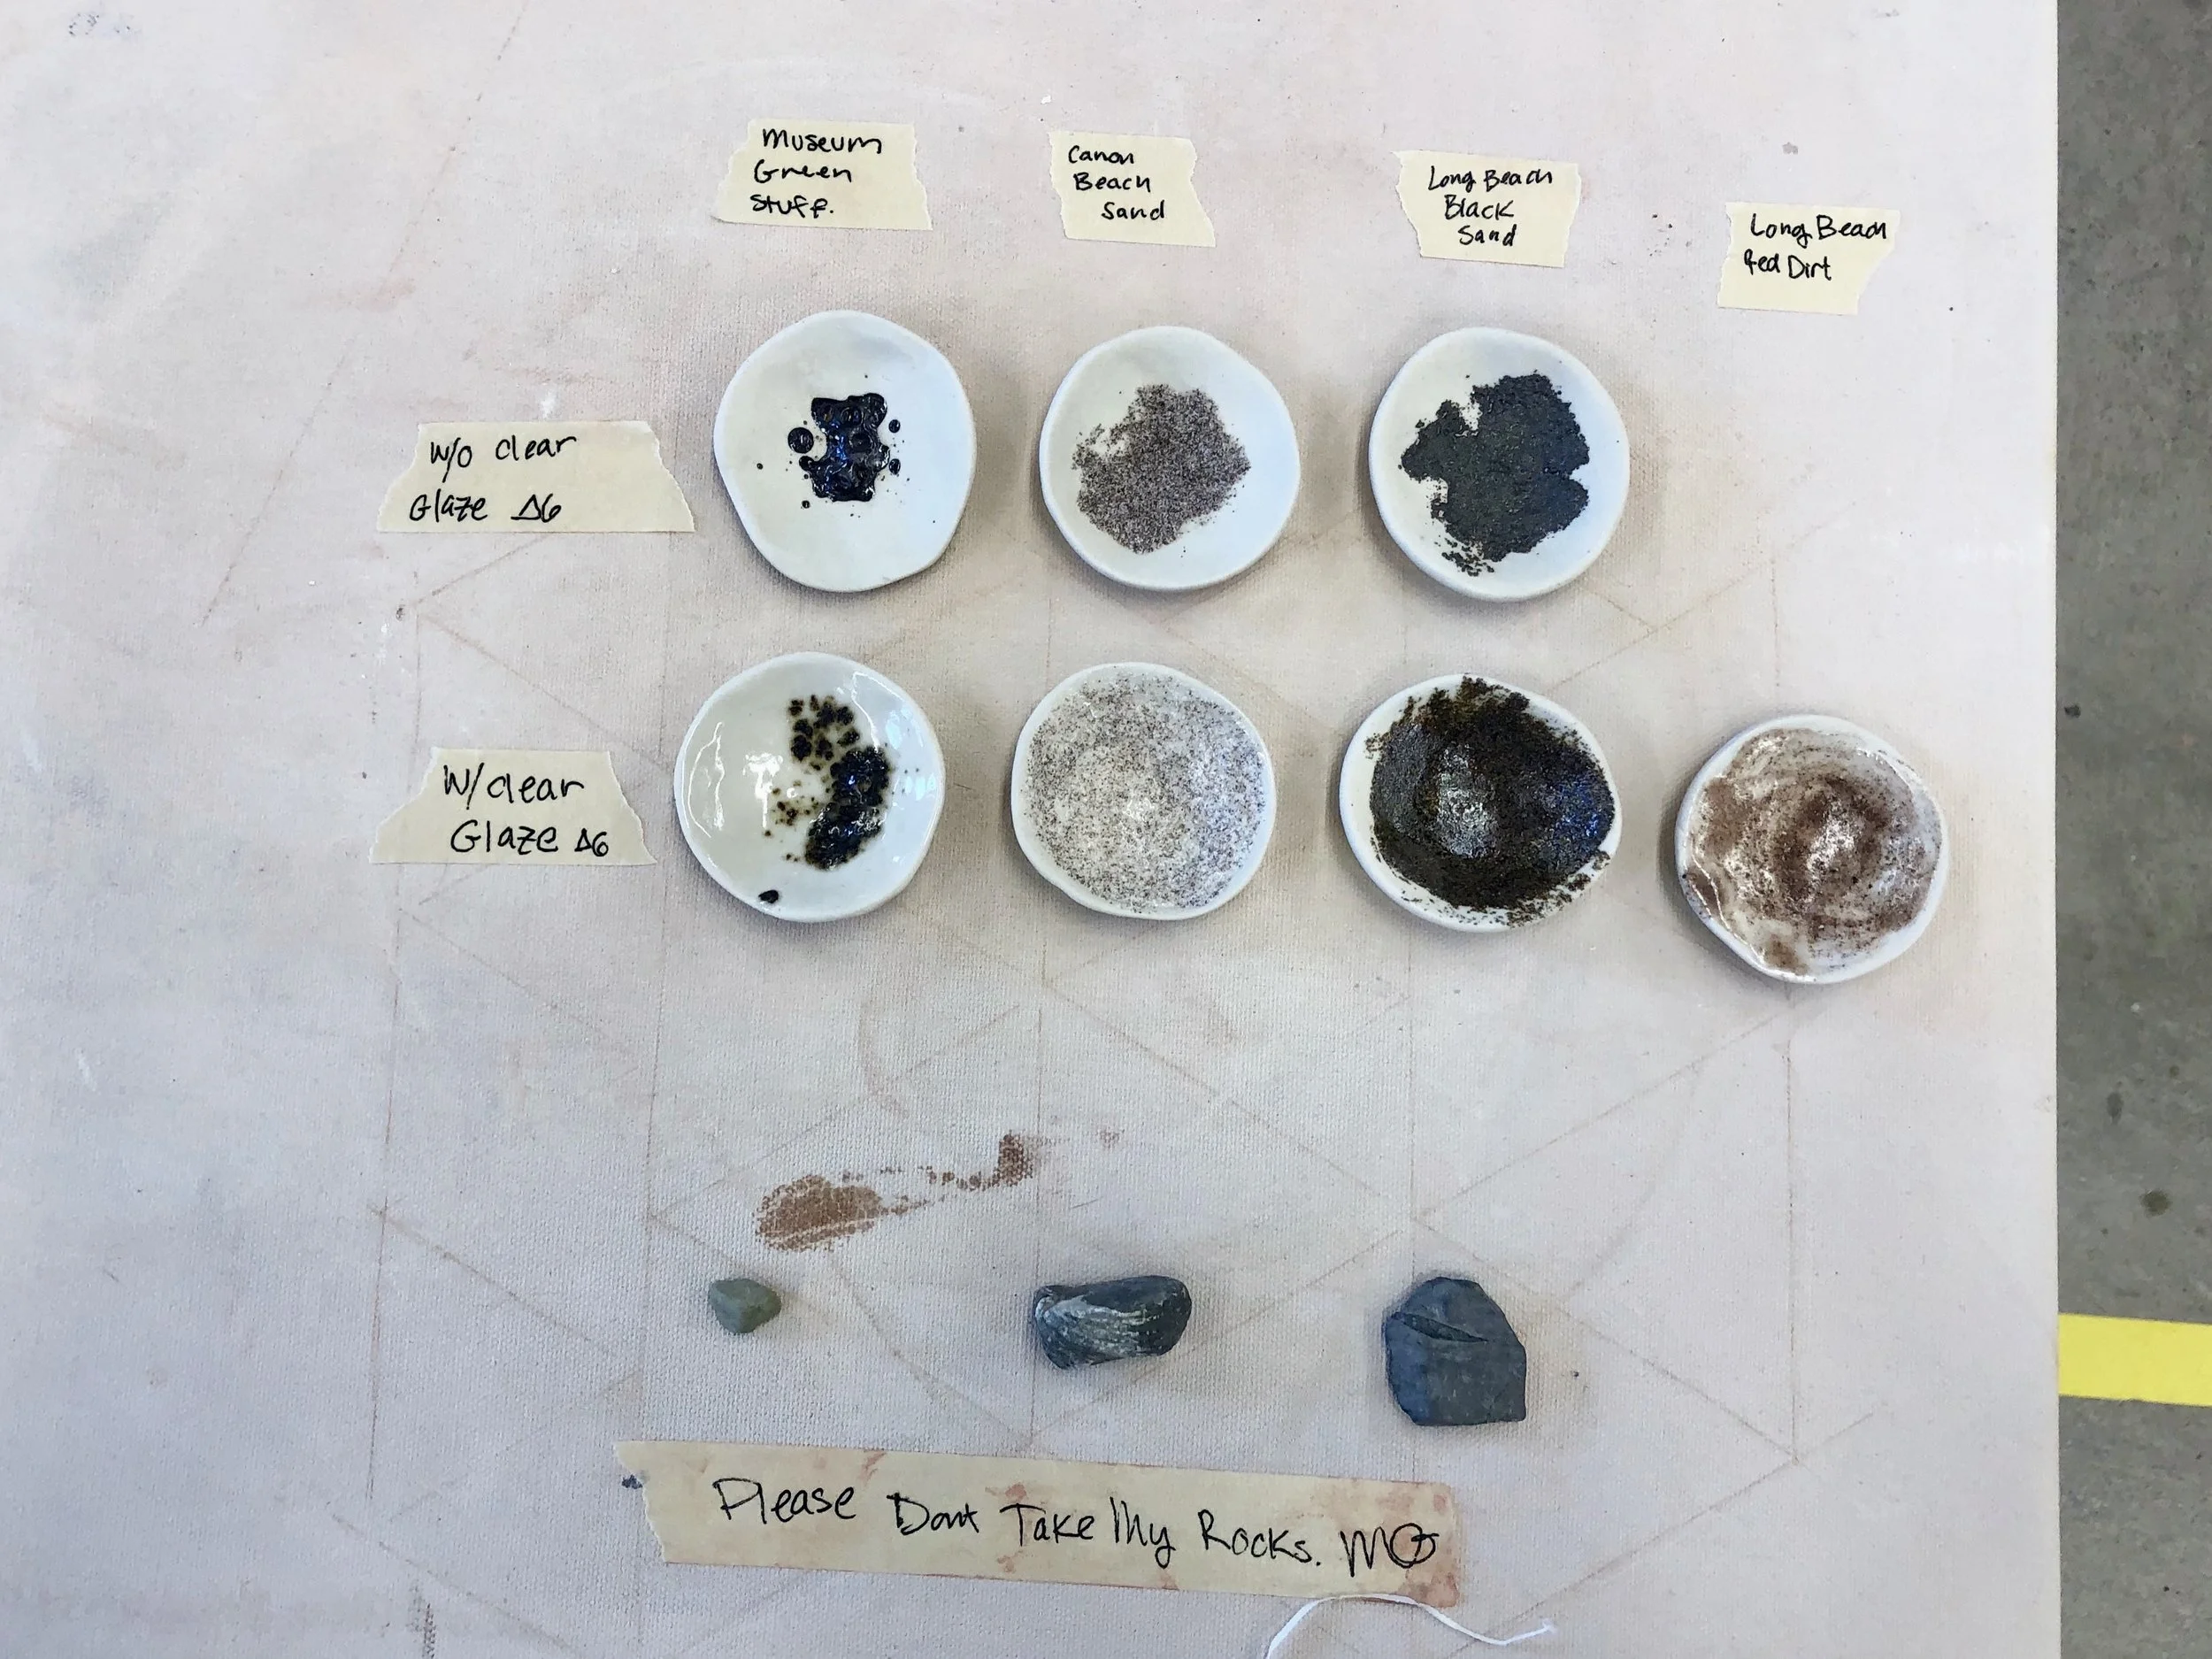
I’ve had success adding sand of various granule sizes to this glaze. This is a more experimental/playful approach and can be really fun. Just be sure to document and make sure your kiln is vented.